Turn an interview into captioned vertical clips
A practical workflow for choosing a complete idea, cutting a vertical interview clip, correcting captions, and reviewing the export.
Last updated
The short answer
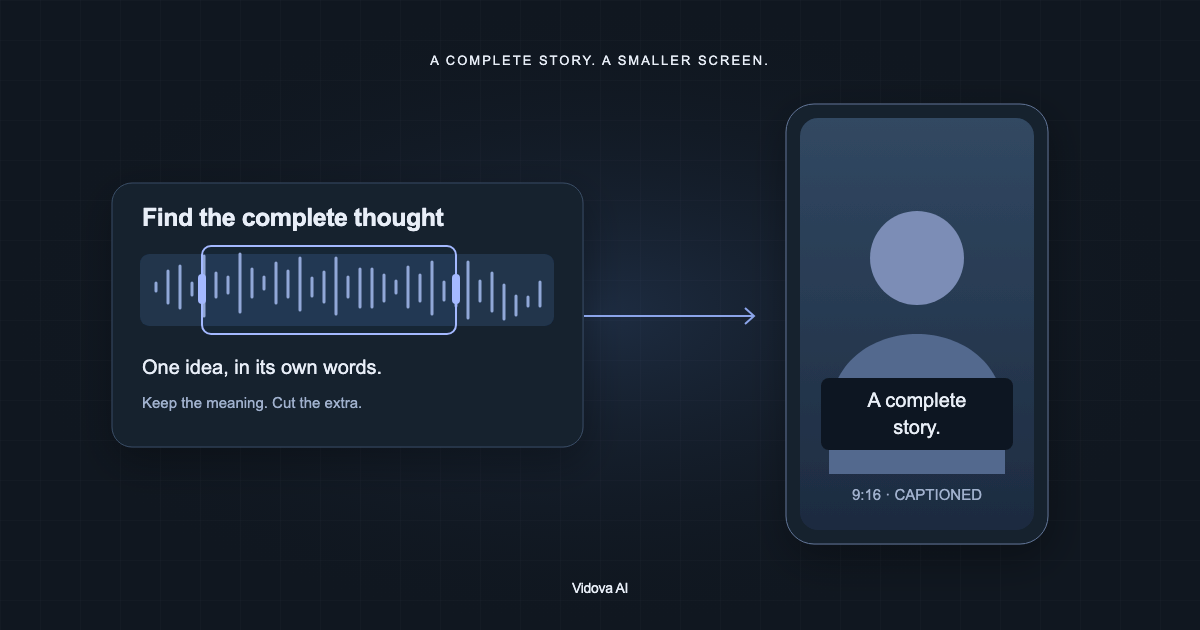
To make a captioned vertical clip from an interview, choose one complete idea, trim the surrounding material, set a vertical format, and add captions. Then check the framing, transcript, timing, and audio together. Review the exported file before sharing it.
Key takeaways
- Choose a complete thought, rather than an arbitrary slice of footage.
- Correct automatic captions against the original audio.
- Check the vertical crop and captions together at phone size.
Choose one complete idea
Watch the interview and find a passage that makes sense without a long introduction. A useful short clip has a clear subject, a specific point, and an ending. Write down the source timestamps before asking for the cut.
Keep qualifications and context that change the meaning of a claim. If the speaker says “this worked in our pilot,” removing “in our pilot” can misrepresent the result. A short edit still needs to be faithful to the original conversation.
Make the first cut in Vidova
- Import the interview and wait until the asset is ready.
- Open the project and identify the clip you want to use.
- Ask for a vertical cut using the selected timestamps.
- Play the result to check the opening, closing, and any pauses.
- Adjust the crop so the speaker remains in frame.
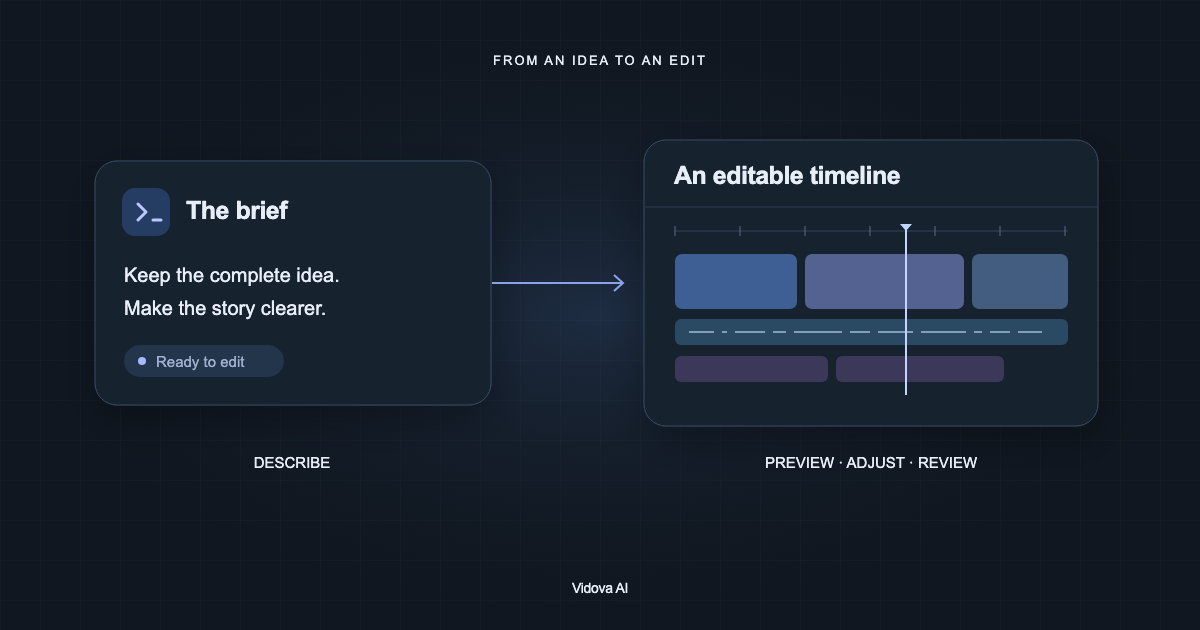
Use the interview between 02:14 and 02:48. Make a 9:16 clip about the onboarding lesson. Keep the complete explanation and original voice. Add readable captions and leave room above the bottom edge.
This is an example request. The right crop and duration depend on your recording. When a sentence is cut mid-thought, extend the clip boundary or choose a different ending before you style the captions.
Correct the captions against the audio
Automatic transcription is a first pass. Listen again and correct names, technical terms, punctuation, and missing words. Check that each caption appears with the speech it represents. Vidova’s Script panel and captions workflow let you work with the transcript.
For accessibility, captions also convey meaningful non-speech audio, such as a sound that explains what happens on screen. The W3C guidance explains why automatically generated captions need human review.
Review the clip at phone size
- Use enough contrast between the words and their background.
- Keep captions away from the edges and important faces.
- Break text into readable phrases instead of filling the frame.
- Watch the whole clip with sound, then check whether the message is understandable with sound off.
There is no universal placement that avoids every app’s playback controls. Preview the destination’s layout when possible. A caption that looks comfortable on a desktop monitor can be too small when the same frame is displayed on a phone.
Check the exported video
Export the reviewed film and open the finished file. Confirm the format, listen for gaps or abrupt cuts, and inspect the first and last frames. Verify that the export includes the captions you intended; burned-in text and a separate caption track are different delivery choices.