How to turn your trip clips into a travel video with AI
Turn phone clips from a holiday, a road trip or a mountain climb into a travel video with AI: a journey order, place names, a route map and real sound. With an example brief.
Last updated
The short answer
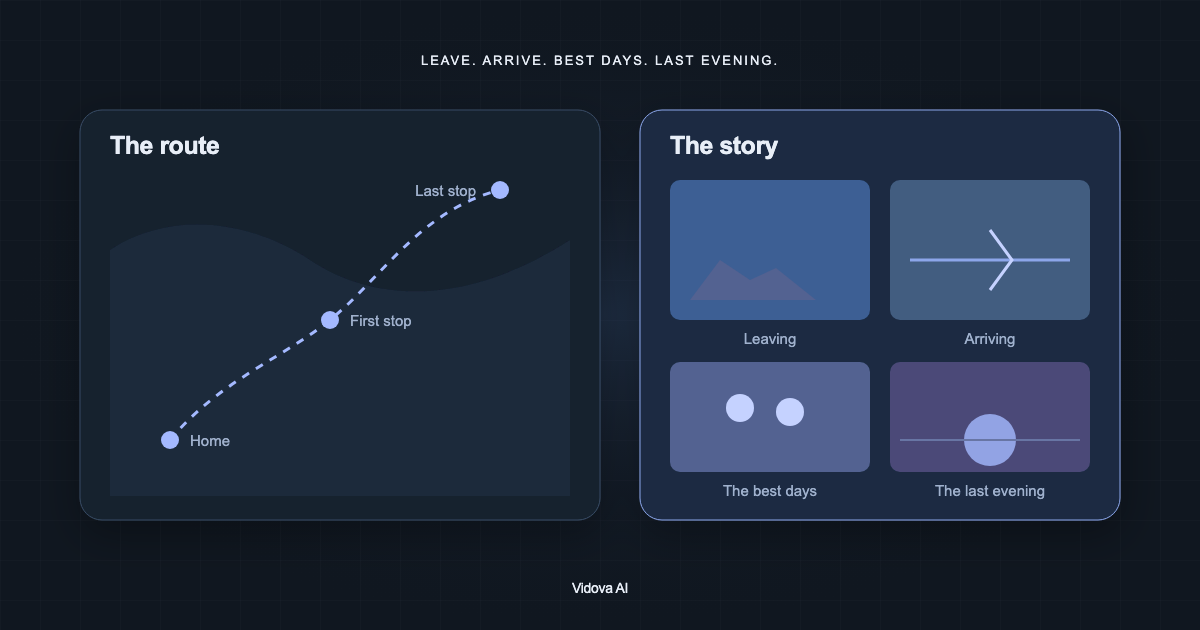
To turn trip clips into a travel video, sort them into a journey (leaving, arriving, the best days, the last evening), tell the editor where you went and in what order, and ask for a cut to a song. Vidova names each place once, can draw your route on an animated map, and keeps a few real sounds such as waves or a street.
Key takeaways
- Sort the clips into a journey: leaving, arriving, the best days, the last evening.
- Write the places, the order and the dates. The agent does not invent places.
- Ask for a route map between sections and keep a few real sounds.
Sort the clips into a journey
A travel video tells a trip. Pick the clips that fit each part and leave the rest out.
- Leaving: packing, the airport, the car, the first road.
- Getting there: a plane window, a train, the view on arrival.
- The best days: the beach, the climb, the food, the people, the jump into the water.
- The last evening: the sunset, the lights, the walk back.
Put your most striking clip first. It can come from any day. The first second is what people see while they scroll.
Tell the editor where you went
Write the places, the order and the dates in the brief. File names and signs in the footage help, but the agent does not invent places. When the order matters and nothing tells it, it asks in the plan.
Each place gets its name once, on the first shot of its section, in the sky or on the ground and never on a landmark or a face. Ask for a style if you have one in mind, such as postcards, “Day 1” to “Day 7” labels, or a big title over the first view.
Add a route map
Vidova has an animated route map element. It draws a line from stop to stop, marks each stop as the line arrives and labels it. Between sections, a map of 2 to 4 seconds shows how far you went. For a trip inside one country, the map zooms in so the line stays visible.
Name only stops that are far apart. Stops closer than about 150 km put their labels on top of each other. For a hand-drawn look, ask for a drawn map with a dot on each city instead. A drawn map can be a generated picture, which spends credits.
Write the brief
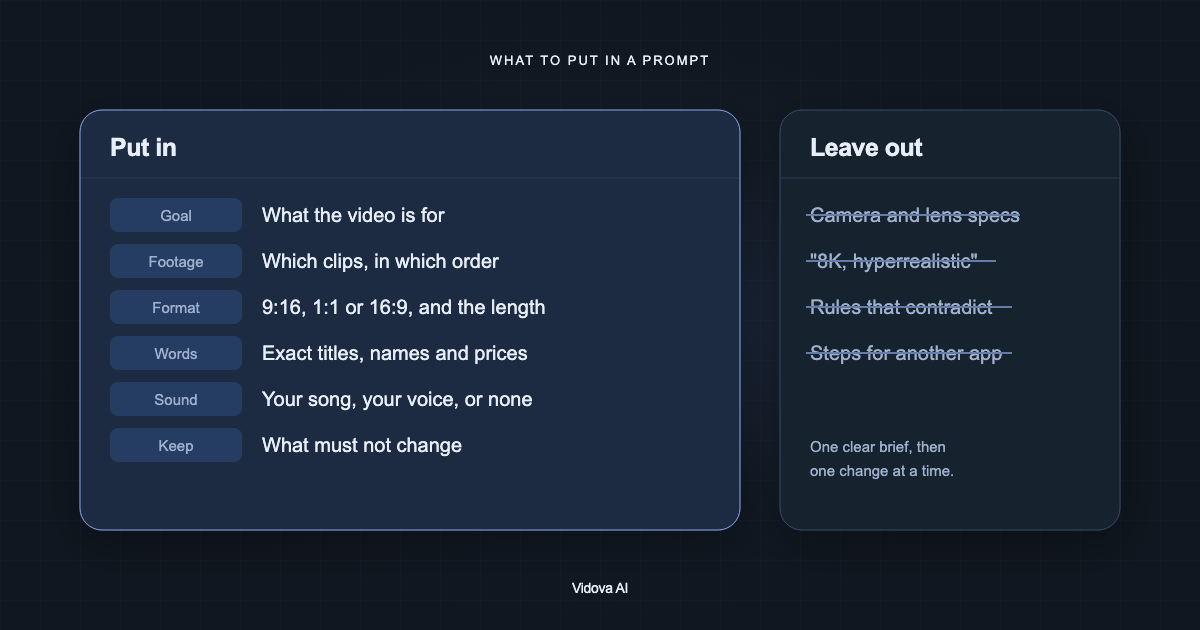
Make a 40-second vertical travel video of my trip: Lisbon, then Porto, then the Algarve, 6 to 13 June. Open on the tram clip. Show a route map between Lisbon and the Algarve. Name each place once. Keep the sound of the waves in clip 14 for a moment. End on the sunset clip with “Portugal, until next time”. Use my song.
This is an example brief. For a mountain climb, list the stages instead of cities: the base, the camps and the summit, with the dates or the heights you want on screen.
Keep a few real sounds
Most clips play under the music with their own sound off. A few moments sound better real: waves, a train, a street musician, a laugh. Name them in the brief, and the agent lowers the music under them for that moment. If you want no music at all, say “only the original sound”.
Check the video
- The order tells the trip: leaving, arriving, the best days, the last evening.
- Each place is named once and spelled right.
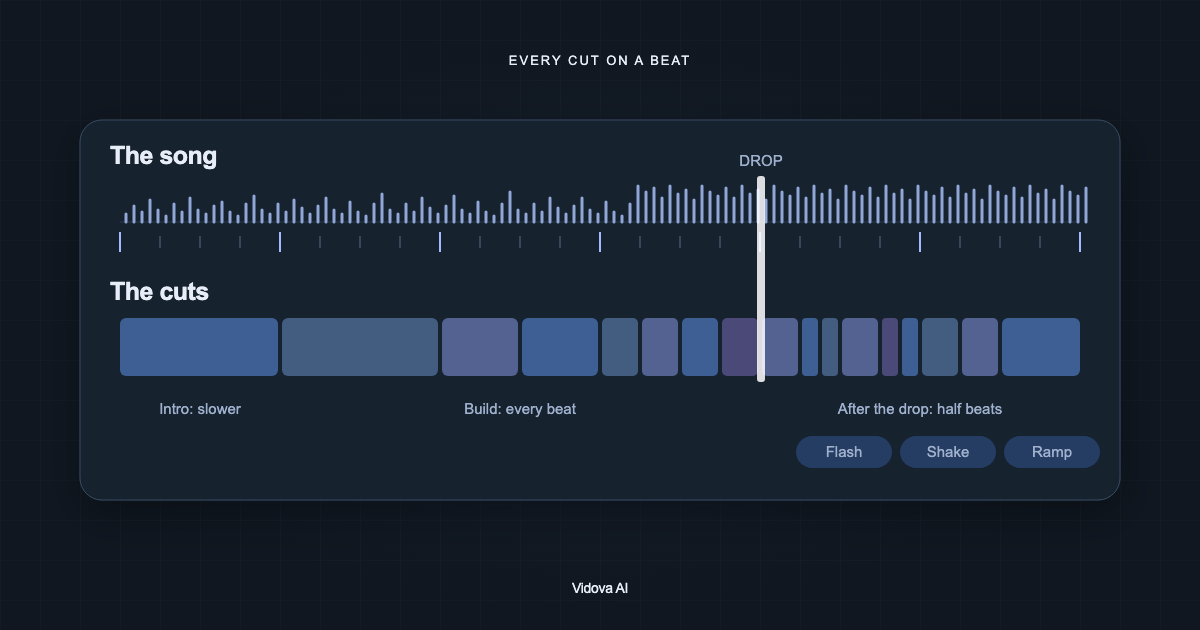
- The cuts get faster toward the best moments and slow down at the end.
- The last shot is the warmest one, held with the closing line.
- No text covers a landmark or a face.
Make your first travel video
You can try this on the free plan. It needs a card check that charges nothing, gives you 750 credits once, and adds a Vidova watermark to previews and exports. Paid plans start at $19 a month, billed monthly or yearly, and remove the watermark.