Record your screen from the terminal and edit it with an AI agent
The Vidova CLI records your screen, camera, cursor and keys into one tape and sends it to a project. Then Claude Code or another agent can edit it over MCP.
Last updated
The short answer
Install the Vidova CLI with npm install -g @vidova/cli, run vidova to pick a screen, microphone and camera, and press q to stop. The recording is saved as a .vtape with the screen, camera, cursor and key tracks. Add --upload or --new-project to send it to a Vidova project, then ask Claude Code or another MCP client to edit it.
Key takeaways
- The CLI records the screen, camera, cursor and keys as separate tracks in one .vtape file.
- Uploading puts the take on an empty project's timeline as a screen recording.
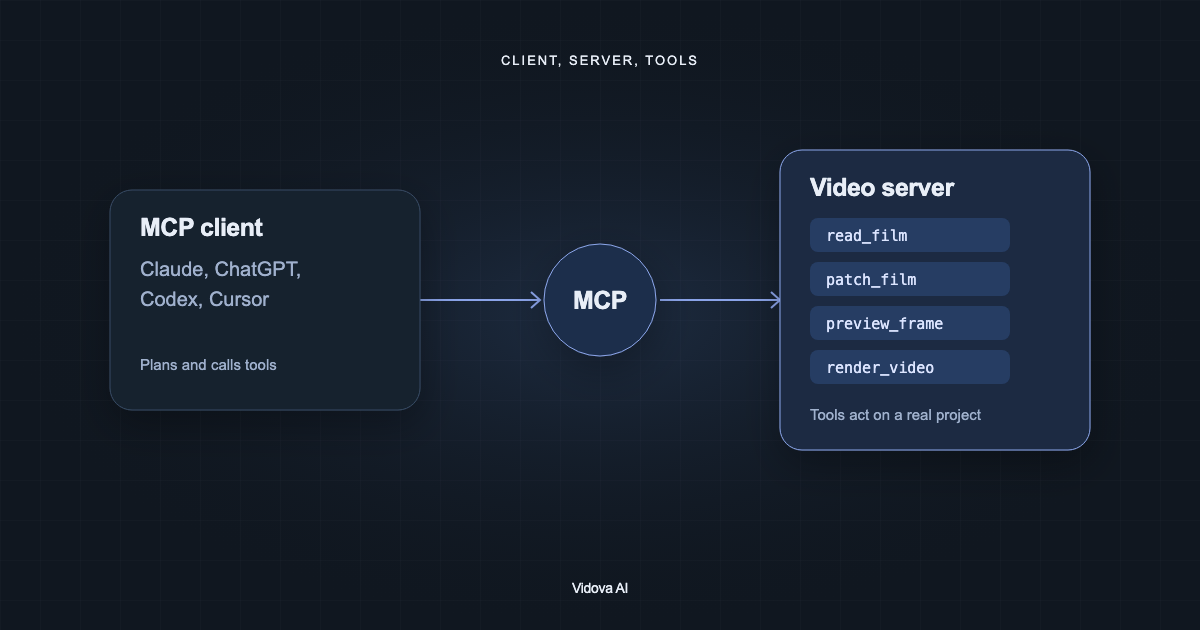
- The CLI records and uploads. Editing by an agent goes through the MCP server.
Install the CLI
npm install -g @vidova/cli
vidova --version
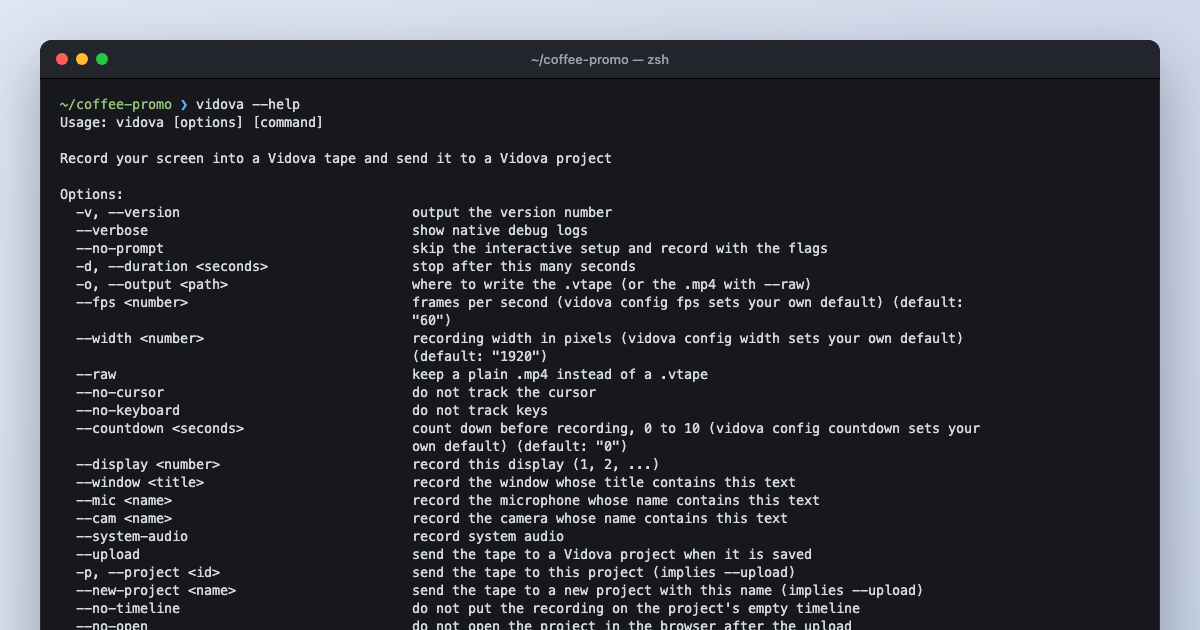
vidova --help
You need Node.js 20 or newer. The npm package includes the recorder for macOS on Apple Silicon or Intel and for Windows x64. Linux needs a build from source.

Record a take
Run vidova with no arguments for the interactive setup. It asks what to record and which microphone and camera to use. It remembers your last choice.

Press p to pause or resume and q to stop. For scripts and repeatable demos, pass the source as flags:
vidova record --no-prompt --display 1 --duration 30
vidova record --no-prompt --window Safari --mic "MacBook" --cam FaceTime
Recordings go to ~/.vidova/recordings/ unless you pass -o. A .vtape keeps the screen video, the camera video, and the cursor and key data as separate tracks. Use vidova info to see what a tape holds and vidova extract to unpack it.
Send the recording to a project
vidova login
vidova record --new-project "Onboarding demo"
vidova upload ~/.vidova/recordings/<take>.vtape -p <project-id>
vidova login opens a browser page with a code to confirm. After sign-in, --new-project creates a project and uploads the take. When the project's timeline has no clips yet, the editor places the recording on it as a screen recording with its cursor, clicks, keys and camera, and opens the project in your browser.
Edit the recording with an AI agent
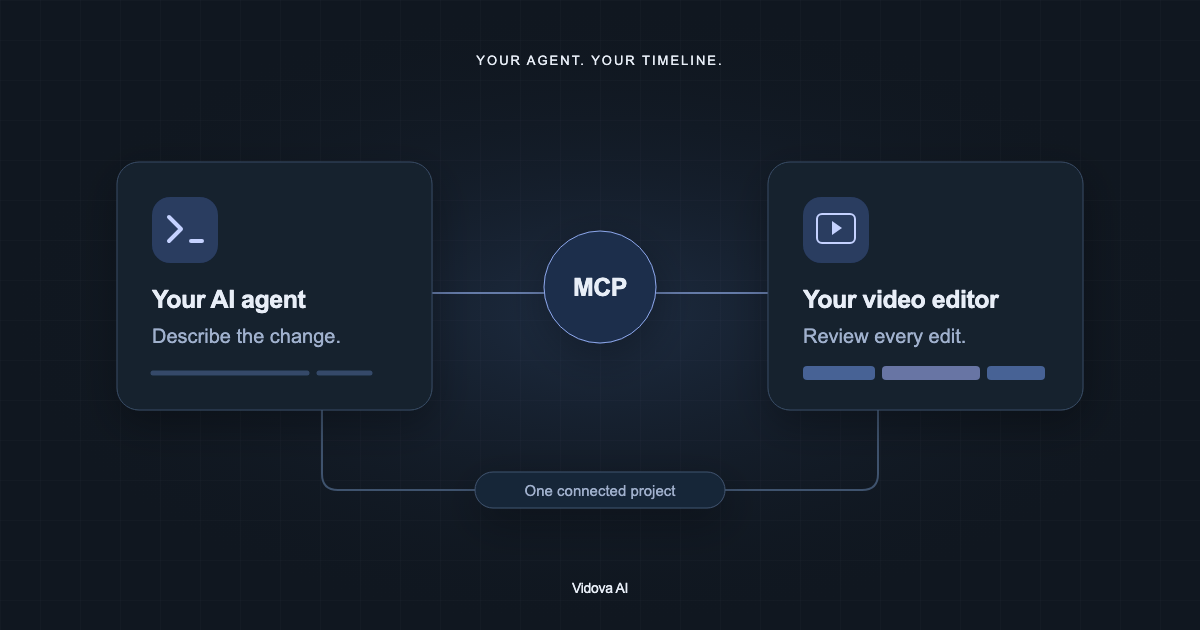
The CLI does not connect an agent. Add the Vidova MCP server to your agent once:
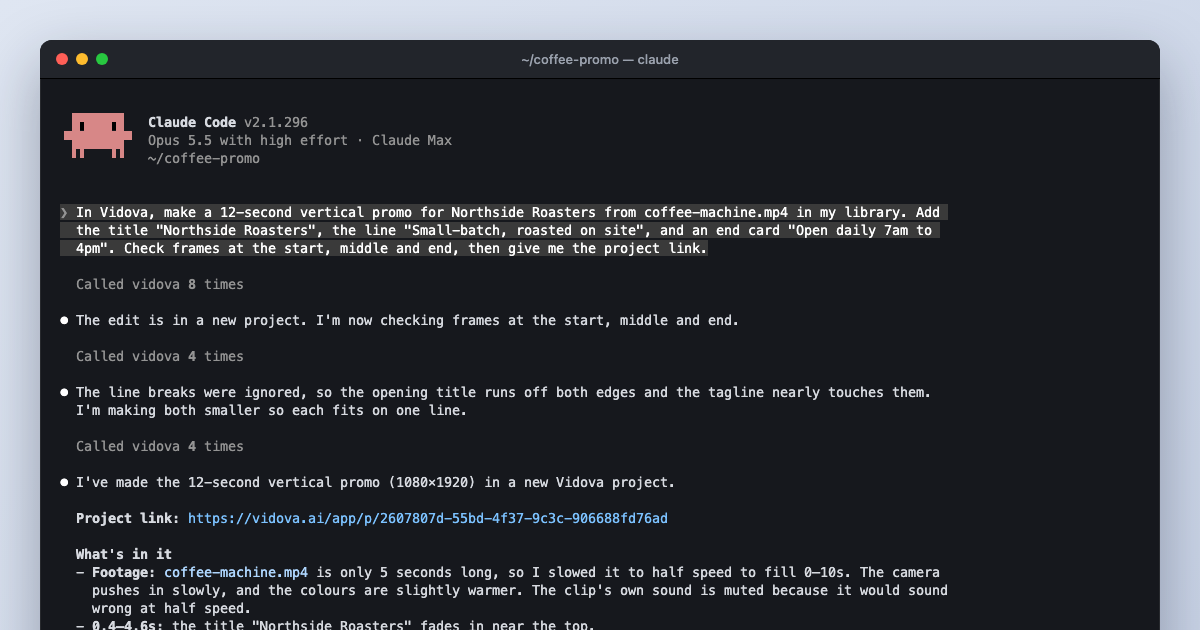
claude mcp add --transport http --scope user vidova https://mcp.vidova.ai/mcpThen describe the edit. The agent opens the project, reads the transcript and the timeline, and changes it. The camera, cursor and key tracks stay with the take in the editor.
Open my project "Onboarding demo". Transcribe the recording, cut the pauses longer than one second, and add captions. Check frames after each change and send me the link.